Open House Checklist for Realtors: T−48 Hours to Follow-Up
Open house checklist for realtors: confirm the seller's plan, prepare the home, host safely, secure the property, and follow up over two days.
By Realtor Marketing Kit by Cosmo Suite · Editorial policy
Published · 8 min read
It's Thursday afternoon. The seller says Saturday works, the listing is live, and you have a few small jobs left before the doors open. A checklist helps you catch the details that are easy to miss between showings.
The schedule starts 48 hours before the event and ends two days after. Adjust the tasks for the home, seller, local rules, and your brokerage process. These time blocks are a planning aid.
The Short Version
- Confirm the event, access, property facts, and seller plan first.
- Prepare the home and your visitor materials before the day gets busy.
- Keep a safety and check-in plan for the event, including how you will close it.
- Check the property before you leave, then record notes and follow up through an approved channel.
What belongs on an open house checklist?
An open house checklist is a timed list of seller and agent tasks before, during, and after a showing. It covers the event handoffs: what the seller will do, what you will bring, how visitors will move through the property, and how you will secure it afterward.
The sequence below is a working template. Your seller, property, brokerage, MLS, and local rules determine which items apply. Add those requirements before the week of the event so you are not trying to confirm them at the door.
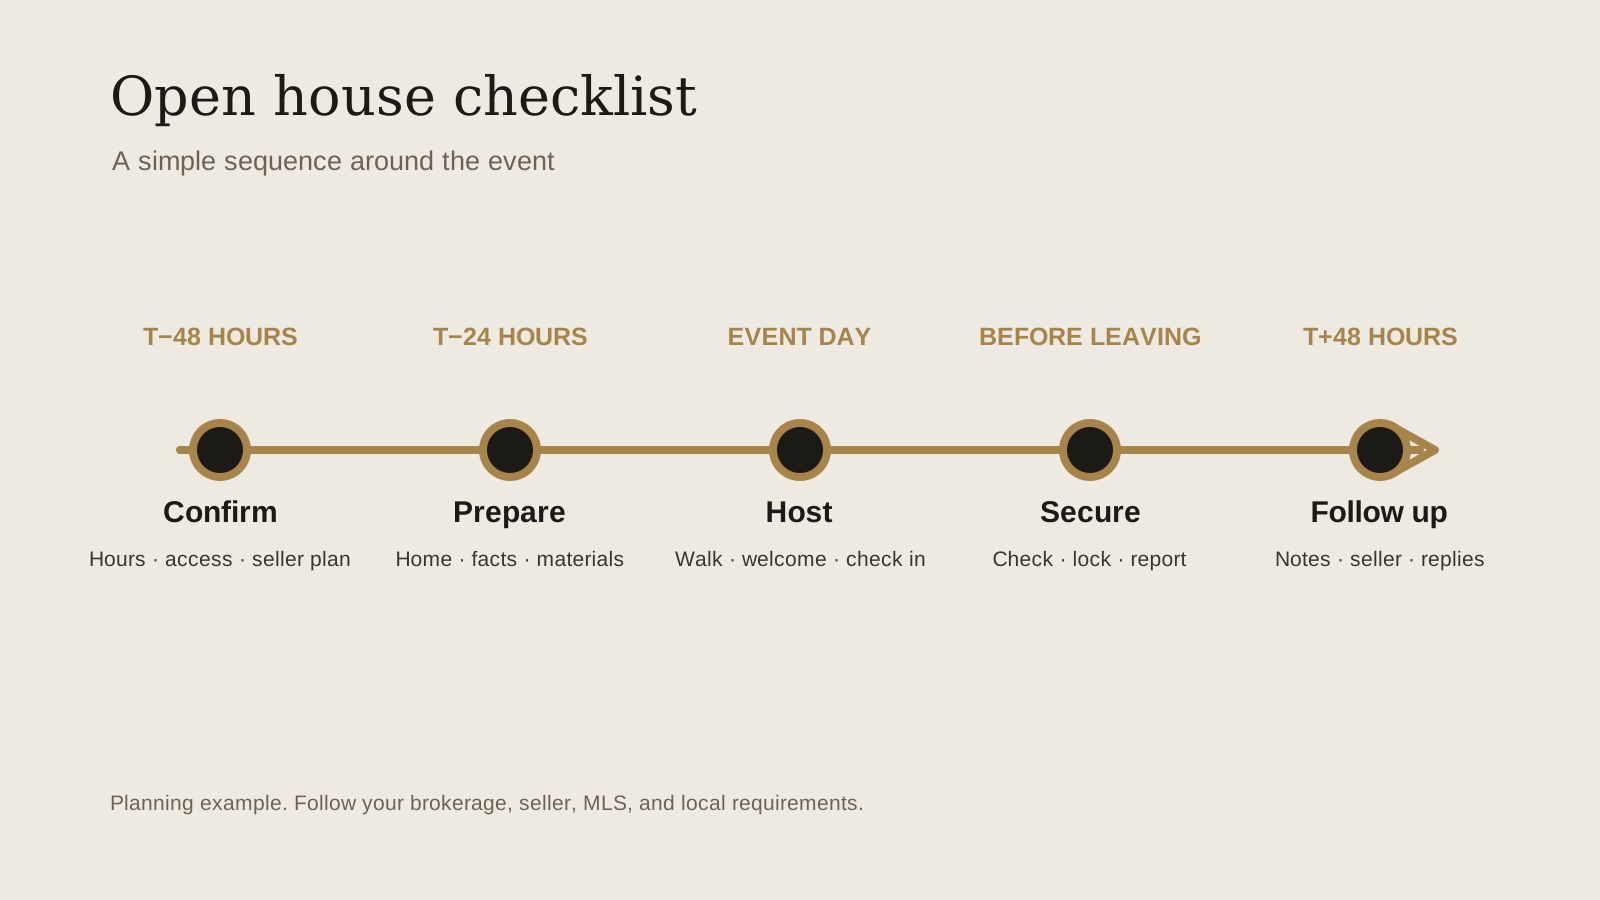
Open house checklist: from 48 hours before to two days after
Use the time blocks to plan, then check items off in the system your office approves. The schedule is an editorial planning example, not a rule from NAR or a promise about attendance.
[Unique insight] This checklist treats the event as two handoffs: seller to agent before the doors open, then agent back to seller and office after the property is secure. The closing check and follow-up notes belong on the same schedule as the invitation.
| When | Checklist | Confirm with |
|---|---|---|
| T−48 hours | Confirm date, public hours, address details, access, seller contact, and any property areas that are off limits | Seller and brokerage |
| T−24 hours | Verify listing facts and visitor-facing copy; agree on cleaning, personal items, pets, and key handling | Seller |
| Before leaving for the property | Charge your phone; share the address and expected finish time with your office contact; bring approved access and visitor materials | Brokerage process |
| Before opening | Walk the route, check doors and exits, note hazards, and set up only the approved signs or information | Your own walk-through |
| During | Greet visitors, follow the office visitor process, keep awareness of who is inside, and stick to verified property details | Brokerage policy |
| Before leaving | Check accessible rooms and exterior areas, secure doors and windows, remove your materials, and return keys as agreed | Seller and brokerage |
| Same day | Record relevant questions and follow-up requests in the approved system | Your notes |
| By T+48 hours | Send appropriate follow-up, update the seller, and close any promised information loop | Visitor preferences and seller |
The jobs vary by property, but the order stays useful: confirm, prepare, host, secure, record, follow up.
For example, the event note might say: “Public hours confirmed with seller; use front entry; keep upstairs office closed; call office contact at arrival and departure.” Replace each detail with the seller's actual instructions and your brokerage's process.
T−48 hours: confirm the details and divide the work
Start with the seller and the property record. Confirm the event date, start and end times, address, access method, and who will be at the home. If the seller has a preferred way to handle questions or a restricted area, write it into your event notes.
Check the listing facts you plan to repeat. Verify the features, room names, showing instructions, and any figures against the source approved by your broker. NAR's Code of Ethics, Article 12 says REALTORS® must present a true picture in advertising. If a detail is unclear, leave it out until you verify it.
Agree who handles the preparation. The seller may be responsible for cleaning, personal belongings, and pets; you may be responsible for the listing materials and visitor process. Make the handoff explicit. Do not assume a seller knows what you expect them to move or secure.
If you need an invitation or reminder post, keep the event details consistent across each format. This open house ideas guide pairs the invite, day-of reminder, and follow-up with the event timeline. For a broader look at listing-stage content, see the real estate post guide.
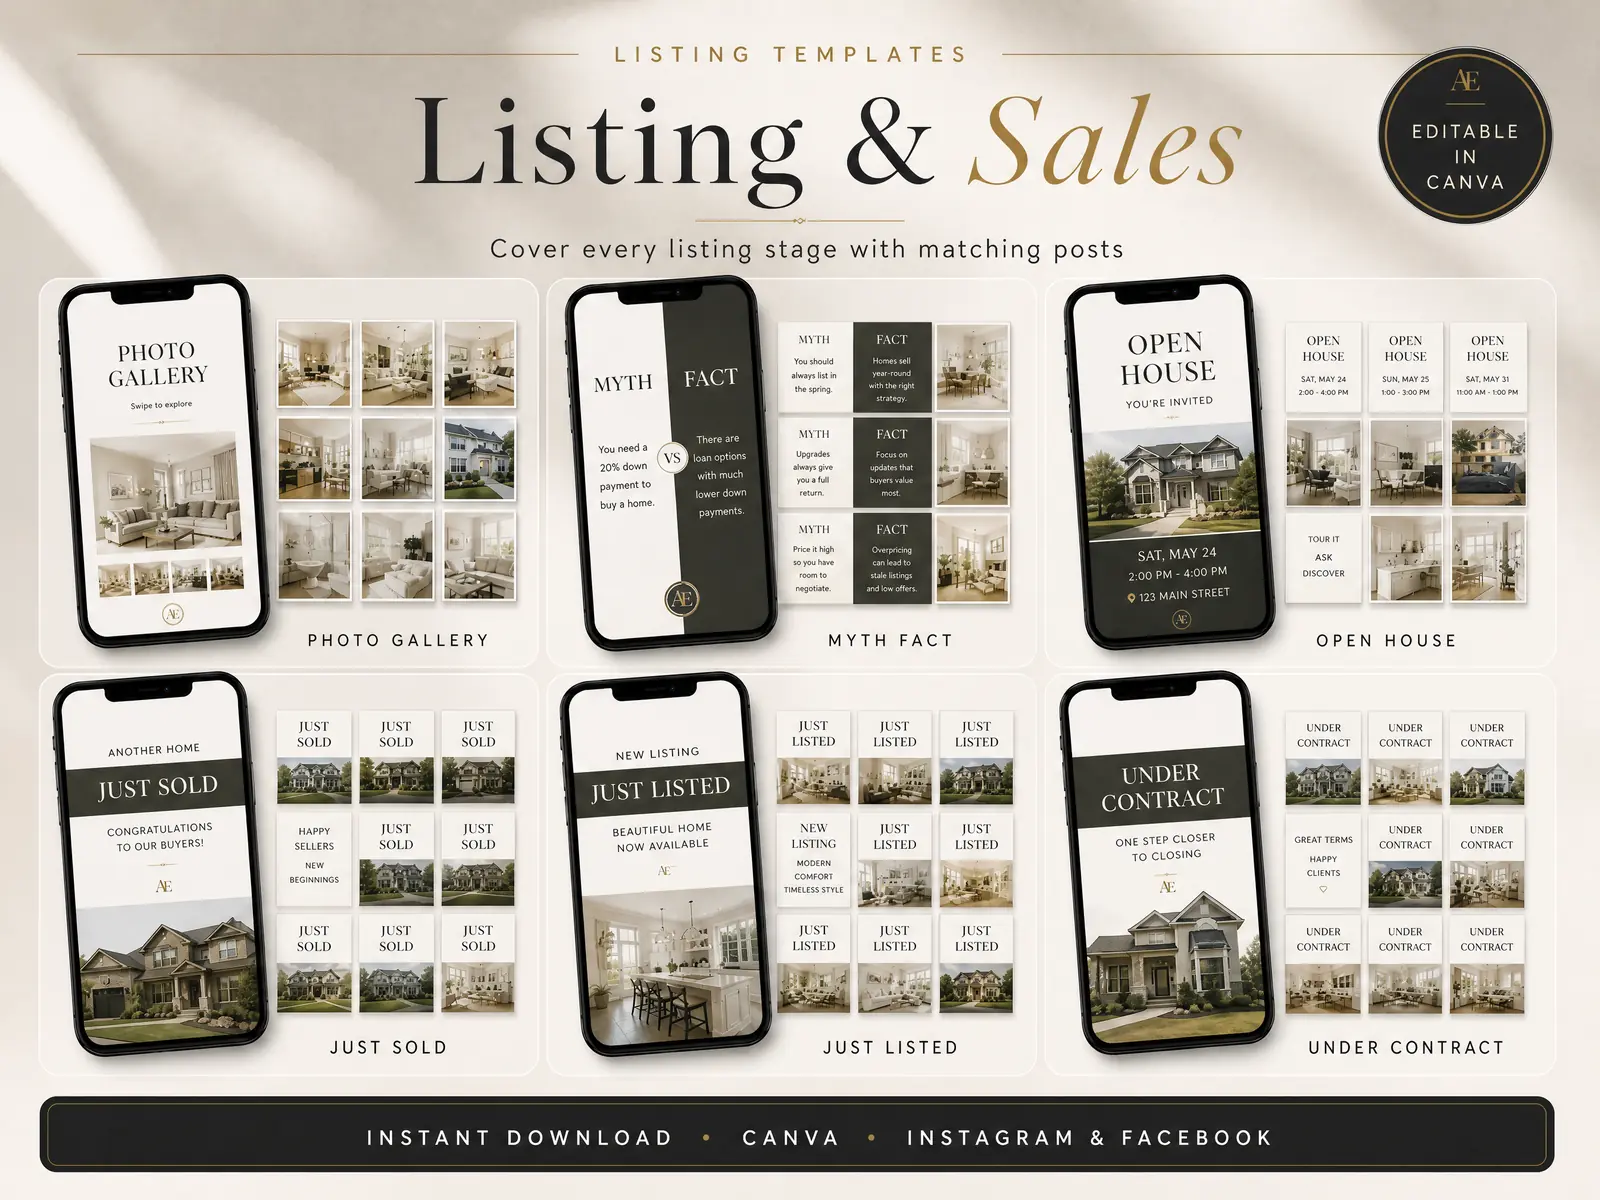
Ready-made Canva templates for real estate agents can give you an editable starting point for the invitation and reminder. Check every sample address, date, and property detail before you publish.
T−24 hours: prepare the home and visitor information
Check that the seller understands the agreed preparation. Ask them to secure valuables and sensitive personal information, make a plan for pets, and address any agreed access or cleaning needs. NAR's open house safety guidance advises agents to keep valuables and prescription medication secured and to plan for visitor sign-in and a final walk-through.
Walk through the property if your arrangement allows it. Notice the visitor route, doors, stairs, lighting, and any areas that should remain closed. Flag issues to the seller or broker instead of trying to solve a maintenance or safety problem outside your role.
Prepare the information you may need: confirmed property facts, the event hours, the approved way to collect visitor details, and the seller's instructions. A sign-in sheet is not part of Realtor Marketing Kit. Use your brokerage's approved form or process, and follow its rules for collecting and storing personal information.
Put your own kit together before the day. Keep your phone charged and bring the keys or access method, materials, and emergency contacts required by your office. NAR recommends sharing your itinerary with a colleague, keeping your phone available, and planning how to end the event. Ask your broker what check-in method to use and who should respond if you miss one.
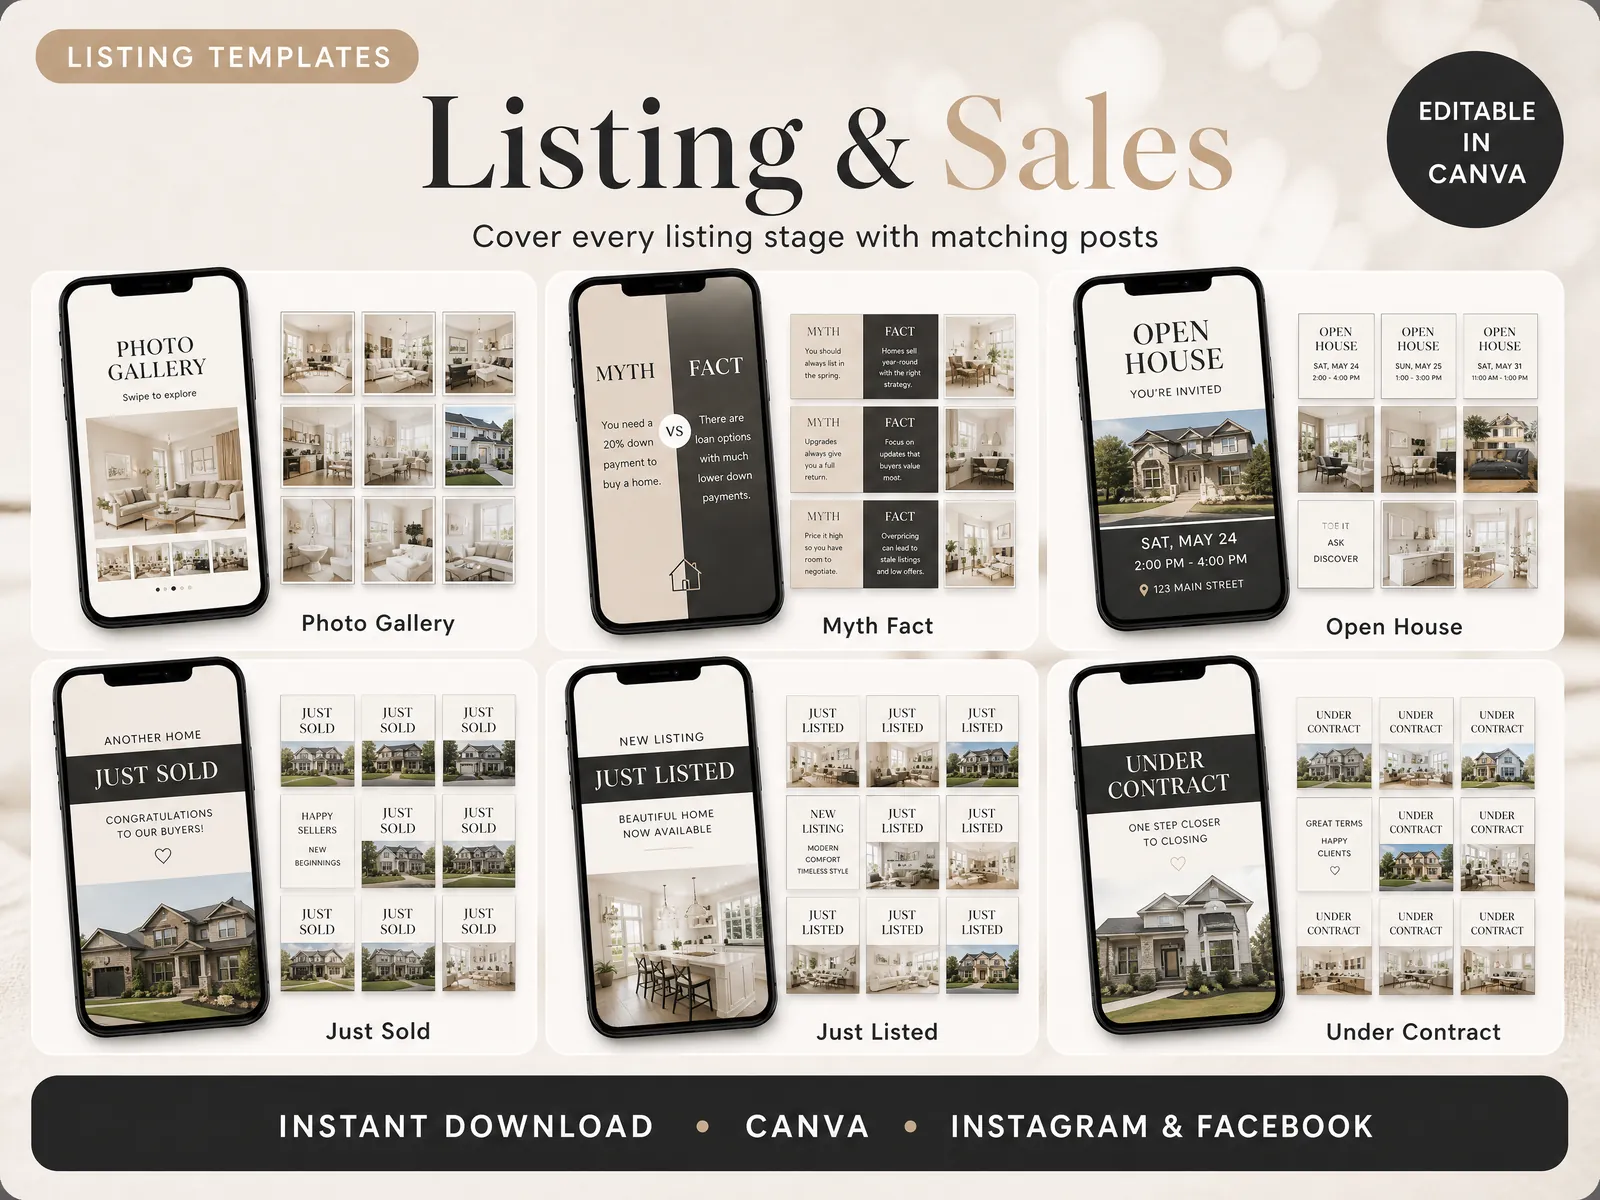
This open house Canva preview shows example artwork from the kit. The displayed street address, date, time, and home details are sample content; replace them with verified listing information before sharing.
Before the doors open: walk the route and set the plan
Arrive with enough time to check the route and setup without rushing. Walk the areas visitors may enter. Check that the agreed access points work, note exits, and look for anything that could trip a visitor or interrupt the showing. Tell the seller or broker about a concern you cannot resolve.
Follow your brokerage's safety procedure. If you are hosting alone, use the office check-in plan and know how to contact help. Do not rely on a visitor form as your safety plan.
Place only approved signs and materials, and make sure the route is easy to understand. Keep private rooms or areas closed as agreed. If a visitor asks a question you cannot answer from verified information, note it and follow up after checking.
During the open house: greet, guide, and keep track
Use your brokerage's process for greeting visitors and collecting any details. Explain how the information will be used if your office requires that explanation. Do not photograph or record visitors unless you have confirmed it is allowed and disclosed as required.
Keep the conversation focused on the property facts you can confirm. Avoid guessing about costs, boundaries, school assignments, or future changes. If a question needs research, write it down and agree on a way to respond.
Stay aware of the whole event. Know who is in the home, keep your phone with you, and follow your check-in schedule. If something feels unsafe, leave and contact your office or emergency services as appropriate. Follow your broker's safety policy.
At closing: secure the property before you leave
Do a final walk-through before locking up. Check every accessible room and exterior area so you can confirm visitors have left and that no personal item or event material remains. Follow the agreed instructions for lights, doors, windows, alarms, keys, and any restricted areas.
Return keys or access devices as agreed and tell the seller or office contact when you have left. If something is missing, damaged, or left unsecured, report it through your brokerage's process right away. Texas REALTORS® recommends checking rooms and locking doors and gates when the event ends.
Use a simple departure note: time you left, property secured, keys returned, and any issue to report. Keep the note in your approved system.
T+24 to T+48 hours: close the follow-up loop
Review your notes while the conversations are still clear. Separate questions that need an answer from general comments, and send the seller a concise event update through the channel you agreed on. Do not turn a visitor's presence into permission for any kind of future marketing.
Follow up only in ways that fit the person's stated preferences and your brokerage's rules. Record requests, responses, and next steps in the approved system. If you promised to confirm a fact, check the listing source or ask the broker first. People you already know may need a different contact plan from open house visitors.
If you plan another event, reuse the schedule and update the property-specific details. Keep only the checklist items that fit the next home. A repeatable process saves setup time, while each property's instructions still need a fresh check.
Why Trust This Article
Realtor Marketing Kit by Cosmo Suite publishes practical marketing guidance for real estate agents. This checklist draws on the National Association of REALTORS® safety resources and Texas REALTORS® open house guidance, checked on 24 October 2026. This schedule is an editorial planning framework. Your brokerage policy and local requirements take precedence. Read our About page, contact information, and editorial policy for site ownership and content standards.
Where Realtor Marketing Kit Fits
Realtor Marketing Kit is our product. It includes open house posts, listing-stage social templates, a local realtor flyer, email templates, and other marketing materials listed on the Realtor Marketing Kit site. It provides Canva marketing templates. Use your brokerage's process for visitor forms, event checklists, contact records, and posting.
If you want an invitation and a reminder ready to edit, Realtor Marketing Kit's real estate Canva templates give you a starting design. Replace all sample details, confirm the listing information, and follow your broker's rules before publishing. The kit helps with marketing materials; your office still sets the event and visitor process.
Frequently asked questions
What should a realtor do 48 hours before an open house?
Confirm the event details and access plan with the seller, check the property facts, and list anything still needed. The next day, make sure the home is ready, visitor information is accurate, and your safety check-in plan is set.
What should a realtor bring to an open house?
Bring a charged phone, keys or approved access, the listing information you can share, and the materials your brokerage requires. Realtor Marketing Kit has no sign-in sheet or visitor form, so use the process your office approves.
How long should an open house last?
Set the hours with the seller and follow your brokerage and MLS rules. No single duration fits every property or market. Put the confirmed start and end times on each invitation and reminder.
How should I prepare a home before an open house?
Agree on the preparation with the seller. Ask them to secure valuables and personal documents, handle agreed cleaning or access needs, and plan for pets. Walk the route and check that visitors can move safely through the areas they may enter.
What should I do after an open house?
Before leaving, check every accessible room and exterior area, secure the property, and return keys or access devices as agreed. Record event notes in your brokerage-approved system, then follow up according to visitor preferences and office rules.